I installed a dryer vent at my house on Sunday. It was surprisingly simple. I think the entire job took about 3 hours, but a lot of that time was because I was learning “on the job.”
I had to pull off wood paneling and cut through two layers of some kind of reddish fibrous junk (some kind of insulation?) to get to the bricks. The first layer of the insulation stuff has a water-stained, white outer surface. The second layer has a shiny gray outer surface.
In this picture I had already pulled off the paneling, cut through the two layers, and punched out two bricks.


The hole went to a wood pile (the two hackberry trees that I could actually cut down!). The dryer vent is sitting on top.
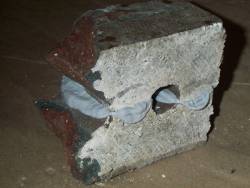
Oops! While reducing the size of the two bricks, I broke one in half. Good thing I had builder’s cement:
I later cleaned up the goop on the sides with a paper towel.
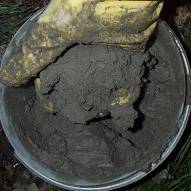
Mmmm, mortar:
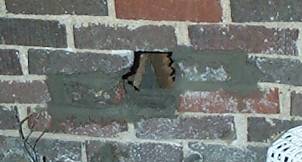
Mmmm, two bricks back in place with a hole for the vent:
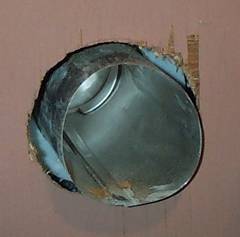
Back inside, dryer vent is pushed through and all mortared up:

Everything’s buttoned up:
Even though this job took 3 hours, I learned a lot and saved about $100 of handyman expenses. Now my garage will no longer be covered with dryer lint!