Picking up from where I left off, I diagnosed that my ’97 Chevrolet Monte Carlo’s compressor does not engage, and I suspected an electrical problem.
Yes, it was an electrical problem. But an easy one.
I had one trick to figure out. I need to test voltage at the compressor. Only problem is the power connection to the compressor clutch is frighteningly close to the electric radiator fan, and this fan comes on when I turn the A/C on.
I found the wiring diagram in my Haynes manual:
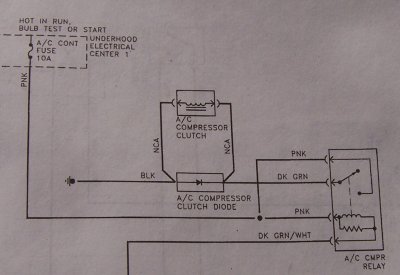
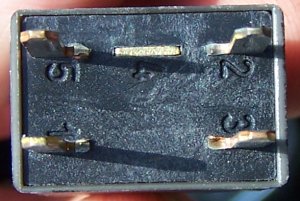
It shows that the signal for the compressor passes through a relay, shown at right. Terminals 2 and 5 are always hot, powered by the same fuse. When terminal 1 is grounded, that closes the switch inside the relay, allowing terminal 3 to power something. In this case, when the powertrain control module grounds terminal 1, terminal 3 activates a diode on the compressor that engages the clutch. Here’s the terminals on the relay:
I pulled off the relay and found that the relay’s terminals 2 and 5 are hot even when the ignition is on the ON position, the engine is not running, and the A/C is off. That combination is important because I have power available to the compressor but I don’t risk danger from a running engine or a moving radiator fan.
I used a paper clip to short terminals 3 and 5, emulating what the relay would do if activated by the powertrain control module:
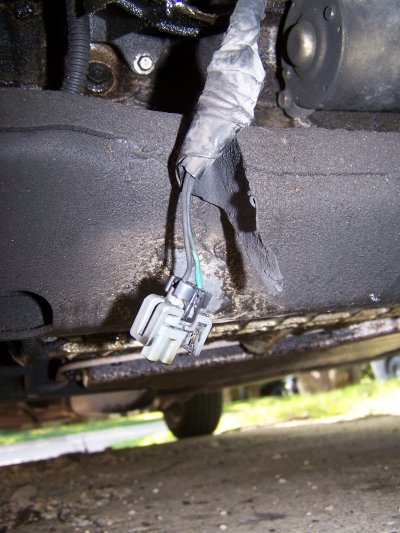
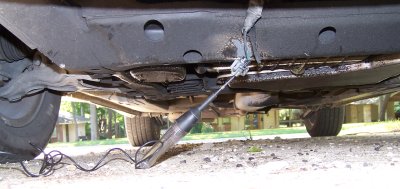
Then I pulled off the compressor clutch wire. It was really nasty, so I cleaned it up with carburetor cleaner:
I tested for signal:
Eureka, the light came on! So I have compressor signal.
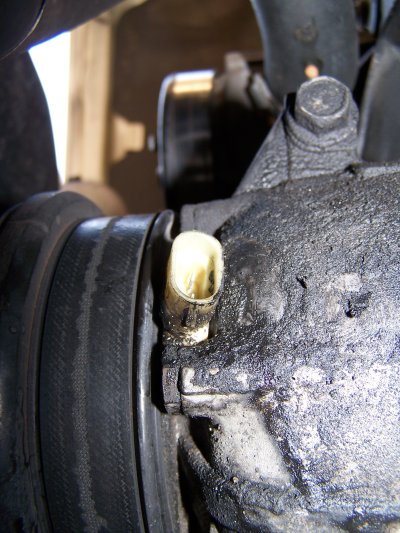
I also cleaned up the fitting on the compressor:
Plugging it back in, the compressor clutch clapped into place! But I also found that there is something flaky with the connection. If I move it wrong, the compressor disengages. I ended up finagling it into a position that works, but I’ll have to investigate that further later.
Now that I can turn on the compressor, I can properly charge the system. All told, I added about 20 oz of R-134a to the system. After doing that, I got these pressures at about 2000 or so RPM at 82 degrees ambient temperature:
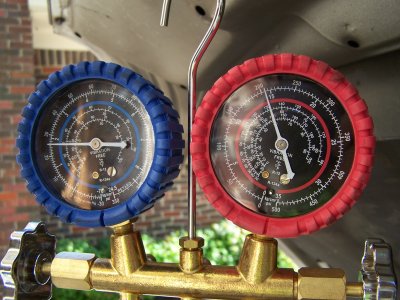
That’s 205 PSI high and 26 PSI low. I think those were OK readings. I later found the static pressure to be 83 PSI, which corresponded to a 78 degree ambient temperature. I’m not sure how to interpret that since the actual temperatuer was about 4 degrees warmer.
But what bothered me more is when I came back to the car about 5 hours later, the static pressure dropped to 76 PSI. In retrospect, in those 5 hours, the National Weather Service recorded a 10 degree temperature drop at Love Field Airport, and the engine bay cooled down significantly. Those alone could fully explain the problem.
Still, doing my due diligence, turned off all the lights and got out my UV lamp and checked for leaks. For a reference point, I checked the UV overspill on the low side port where I injected it:
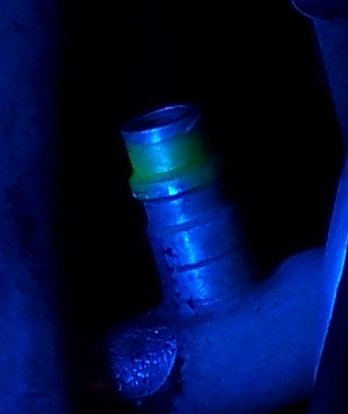
The dye puts off a clear yellow color.
I checked all around the compressor and fittings and lines and couldn’t find any evidence of dye:

Seeing no leaks, I added a few more ounces of R-134a to the system and called it a day. I’ll check the system once again tomorrow to verify that it has plenty of refrigerant and button the system back up.
My plan for now is to just run it until I notice cooling problems. At that point, I’ll verify pressures again and check for leaks.
I do have one theory for why this all happened, although I think it is wishful thinking. My low pressure service port had no cap. It is theoretically possible that debris got in there and caused a slow leak.
Over the next couple of weeks, I’ll find out if that is the case.
One thought on “A/C Fun, Part 2”